NOTE: This product has been retired from our catalog. If you are looking for more up-to-date info, please check out some of these resources to see how other users are still hacking and improving on this product.
Breakout board and example code for the Bosch BMP180 barometric pressure sensor.
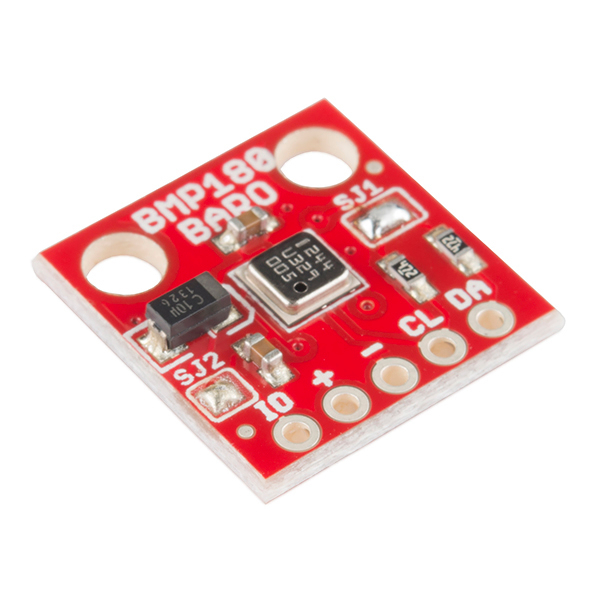
Product page: www.sparkfun.com/products/11824
Datasheet: github.com/sparkfun/BMP180_Breakout/blob/master/BMP180 Datasheet V2.5.pdf
Github repository: github.com/sparkfun/BMP180_Breakout
This archive contains an Arduino library and example sketch showing how to use this sensor. The library must be installed onto your computer in order for the example code to work correctly.
If you haven't, install the free Arduino IDE (Integrated Development Environment), available at www.arduino.cc. This code was written using Arduino version 1.0.5. and updated to be used with the Arduino library manager of version 1.6.3.
To install without the manager, download the Arduino folder then use the Arduino IDE to add it. From the IDE, go Sketch->Include Library->"Add .ZIP Library", then choose the Arduino folder that was downloaded. The IDE will pick proper names from the library.properties file and put the libraries in your user sketch folder.
A. Faruk was kind enough to create a version of this library for the Teensy microcontroller family. You can find information on installation and use of this library at: https://github.com/sparkfun/BMP180_Breakout/tree/master/Libraries/Teensy
- Connect the BMP180 breakout board to your Arduino. You can solder wires, use jumper wires and headers, etc.
"-" (GND) to GND
"+" (VDD) to 3.3V(WARNING: do not connect "+" to 5V or the sensor will be damaged!)
You will also need to connect the I2C pins (SCL and SDA) to your Arduino. These pins are different on different Arduino models:
Any Arduino SDA SCL Uno, Redboard, Pro/Mini A4 A5 Mega2560, Due 20 21 Leonardo, Pro/Micro 2 3 Leave the IO (VDDIO) pin unconnected. This pin is for connecting the BMP180 to systems with lower logic levels such as 1.8V.
-
Connect your Arduino to your computer.
-
Start the Arduino IDE. Select the proper COM port and board type.
-
In the Arduino IDE, go to the File menu, and down to Examples/SFE_BMP180/SFE_BMP180_example. If you do not see this item, you likely did not install the library properly. See above.
-
Upload the sketch to your Arduino.
-
Open the Serial Monitor window (magnifying glass icon un upper right of IDE).
-
Set the Serial Monitor to 9600 baud (menu in bottom right).
If you have questions, don't hesistate to contact us at techsupport@sparkfun.com.
Have fun! Your friends at SparkFun.
Software and hardware license information can be found at: https://github.com/sparkfun/BMP180_Breakout/blob/master/LICENSE.md
- Mike Grusin, SparkFun Electronics
-
The SFE_BMP180 library uses floating-point equations for the BMP085 developed by the Weather Station Data Logger project.
-
Thank you to A. Faruk for modifications to support the PJRC Teensy microcontroller family.
-
Thank you to Asafe Silva for providing support for alternate I2C implementations.
-
Release V_1.1.0
- Restructred for arduino IDE
- Pulled in library
-
hardware V10 (release)
- Minor updates
- Library fork from SFE_BMP085
-
hardware V02 (proto)
- Rearranged header: put VDD/GND/SDA/SCL in "standard" order
- I2C pullups to VDDIO
-
hardware V01 (review)